Skip to Main Content
Back to Navigation

How to Use Drip Irrigation

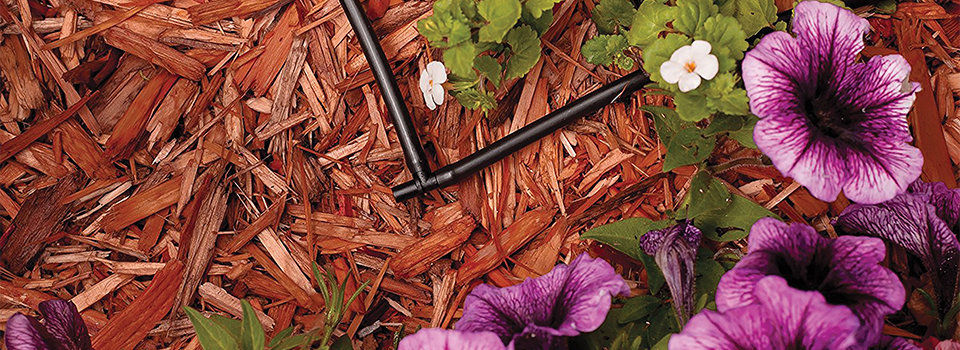
Drip irrigation line in a mulched landscape bed with purple flowers

If you’ve got a backyard or landscaping full of plants, trees, and shrubs, chances are you spend time each week with a hose in hand, watering your plants to make sure they’re getting enough water in the midst of the summer heat. However, watering everything with a hose allows a lot of water to go to waste and some areas of the country have strict water usage restrictions in summer months. Using a drip irrigation system instead of a hose or sprinklers keeps your vegetation healthy and well-watered in the most efficient way possible.

Save time, save water

Many drip irrigation systems are over 90% water efficient, reducing water waste by more than 30% vs. traditional watering methods. The idea of a drip irrigation system can be intimidating, but we’re here to show you how simple a small- to medium-sized system can be. If you have a spigot and a couple of hours to set everything up, you can drastically reduce your water waste and keep your garden watered throughout the year.

What are the benefits of drip irrigation?

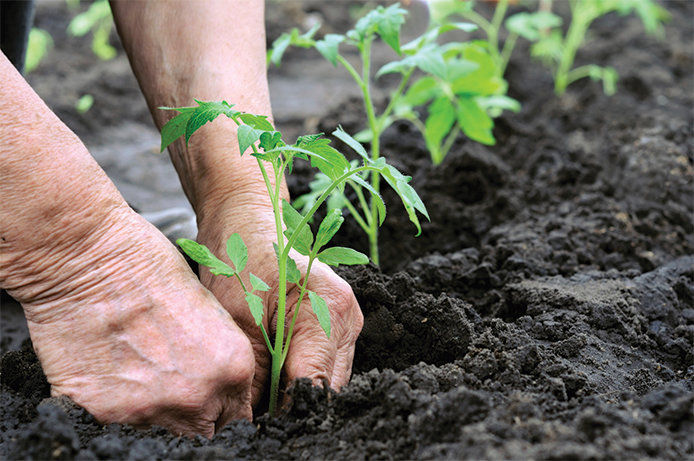
Person transplanting small plant into the soil
  • Increases water efficiency: drip irrigation can increase your water efficiency by reducing runoff and wasted water by 30% or more
  • Grows healthier plants & reduces weeds: using drip irrigation means water is delivered directly to your plants and not to all the weeds trying to pop up in between them
  • Increases plant & vegetable yields: healthier herbs and vegetables leads to better produce when it's time to harvest
  • Saves time: instead of lugging a hose around the yard and spending time watering all different areas of your garden, drip irrigation allows you to simply turn on the hose and walk away

How to Use Drip Irrigation at Home

A drip irrigation system is simply the most efficient way to water your non-lawn areas of your yard, including landscaping, raised garden beds, trees, shrubs, and more. The basic steps to connecting a drip irrigation system are as follows:

  1. Connect to a water source: using the faucet connection kit, attach to your spigot. You'll be able to control water flow and pressure via the connection kit.
  2. Unroll and place the tubing: many drip irrigation kits have tubing with small holes punched in it to allow drips of water to emit into the landscaping. You'll be able to insert connectors into the tubing in order to branch off to different areas and install emitters and sprayers to reach different plants, shrubs, and vegetables.
  3. Stake down the tubing: your kit should come with plastic stakes to hold the tubing in place once you've got it laid out the way you want. In general, the tubing should be about 12" apart as it runs through your garden.
  4. Clamp and cover with mulch: clamp or crimp the end of the hose off with the supplied clamp in your kit. Then, cover the tubing with a couple inches of mulch so that the emitted water doesn't evaporate on the surface before it gets to the plant roots.
Check out the drip irrigation overview from Rain Bird to see why you need to implement a drip irrigation system this summer and how a basic setup works.