While do-it-yourself projects can be fun and fulfilling, there is always a potential for personal injury or property damage. We strongly suggest that any project beyond your abilities be left to licensed professionals such as electricians, plumbers, and carpenters. Any action you take upon the information on this website is strictly at your own risk, and we assume no responsibility or liability for the contents of this article.
How to Paint Your Front Door

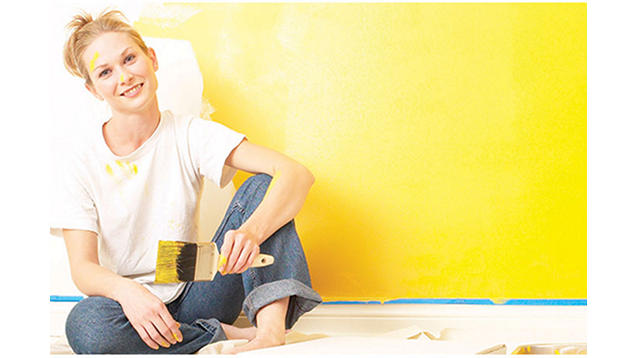
First impressions are important, and your front door gives people the first impression of your house. Painting your front door is an easy way to refresh the exterior look of your home without having to paint the whole house. Painting or repainting your front door is an easy DIY project that doesn’t require too much time or skill. Whether you’re interested in changing the color or simply giving it a fresh face, here is our list of steps to help you paint your front door.
Get Your Paints and Materials

Choosing your paints and buying your materials is the first step toward painting your front door. If your front door is looking a little lackluster, and you are inspired to simply give it a tune-up, try to find a paint color that matches the existing door color. Take a photo and bring it to your local hardware store to get help finding a match. Also, bring color swatches and paint samples home to find the match that works for you.
If you are looking to change the color of your front door, feel free to get creative. Often, front door colors stand on their own, making them the perfect place to experiment with bold pops of color you wouldn’t normally use anywhere else. Get inspired by bright Caribbean blues, playful pinks, spruce greens, sunshine yellows, or earthy terracotta tones. Truly, anything is possible when painting your front door. Alternatively, stay traditional with your color choice or pick a tone that will match the trimming or shutters on the rest of the house.
You’ll want to make sure that the paint you buy is an exterior grade paint. This means that it is more durable and weather resistant and will last longer. It will also serve to protect the wooden door from water damage or rot. You’ll also want to select a paint primer for your door. If your door is metal, get an acrylic metal primer. If your door is wood, then an all-purpose primer should do the trick.
Before you begin painting, you’ll need a few tools. Some important tools are a screwdriver or drill for hardware, a scraper and/or sander, medium-sized paint brushes (one flat and one angled), painting tape, a paint roller, and a paint tray. Also, keep some painting paper or newspapers on hand to catch any dripping or splattered paint. Now, let’s get painting!
Remove Hardware

First, you want to remove your front door and any hardware that you can. Using your drill or screwdriver, carefully unscrew the door and hardware pieces. Take as much hardware off as you easily can to avoid getting paint on it. For pieces you can’t easily remove, such as a lock or knob, use your painting tape to sufficiently cover it so it doesn’t get painted accidentally. Once you’ve removed your door, lay it down on sheets of painting paper or newspaper for your workspace.
Clean the Door

Next, you’ll want to give your door a good clean. For extra old and peeling paint, use your scraper to scrape off any chipping or peeling paint to get the door surface as smooth as possible. Once you’ve done that, get your sander or sandpaper ready. Old wooden doors generally need a good sanding to get them down to a smooth work surface. Starting with a medium 120-grit piece of sandpaper and then working your way up to 220-grit paper, sand your wooden door until the surface feels smooth. If you come across any cracks, fill them up with caulk. Let the caulk dry, and then sand it down so it’s flush and smooth with the surface of the door. Wipe the door down with a cloth or use a vacuum to pick up any excess dust.
Apply a Primer

Once your surface is ready, it’s time to apply the primer. Using your wide flat brush, apply a single coat of paint primer over the front and sides of the door. Let one side dry before you flip the door to prime the other side. Primer will help prevent the door from absorbing unwanted moisture and will help the paint to look smooth and true to color once it’s on. Once you’re done priming, let the surface dry completely, which can take up to 24 hours. If needed, use a piece of plywood or a temporary front door to use in the meantime.
Apply Your Color of Choice

Once the primer has completely dried, it’s time to apply some color! Stir your paint before you begin. Use a small paint roller for the flat panels of the door and a wide-angled brush for the curves, crevices, and corners of the door. It’s ideal to make long up-to-down strokes with the brush rather than working side to side. Use a rag to clean any visible lines on the door. Let each side of the door dry before you flip it over to paint the other side. We recommend using at least two coats of paint. If you want even more color saturation, you can do a third layer. Let the door completely dry before applying additional layers.
Reattach Hardware

Once the last layer of paint has dried, it’s time to rehang your door. Take any tape you used off the hardware. Using the screws and screwdriver or drill, replace all the hardware to rehang your door in its place.
And now, last but not least, you get to enjoy the beautiful fruits of your labor with a stunning and fresh-looking front door on your home. This will leave the perfect long-lasting first impression on anyone who comes by.
Check out These Articles for More Painting Tips
Painter’s Tape 101
Finish your paint job faster and with fewer mistakes using painters tape and these step-by-step directions for taping off a room before painting.
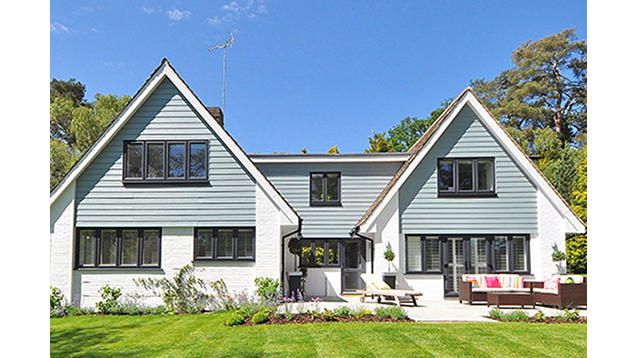
4 Tips to Prepare Your Home for Exterior Painting
Exterior paint can completely revamp a home's curb appeal. But do you know what type of paint to use? Better yet, do you know what steps to take to get a professional-looking paint job?
Related Articles

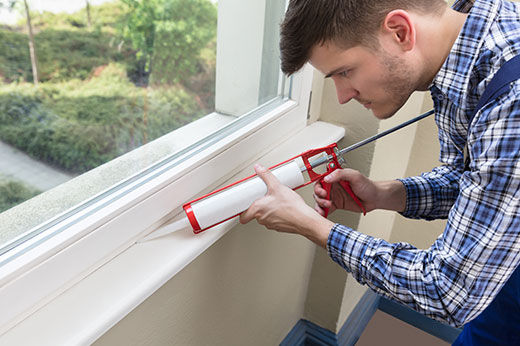
5 Tips to Caulk Like a Pro
Learn how to get the perfect bead of caulk for a professional-looking finish!
Learn more
5 Things to Do Before a House Appraisal
If you're new to the home appraisal process, it can be a bit daunting. Today, we'll explore what a home appraisal is, how to prepare for a house appraisal, and give you five must-dos to help the appraiser see your home at its best!
Learn more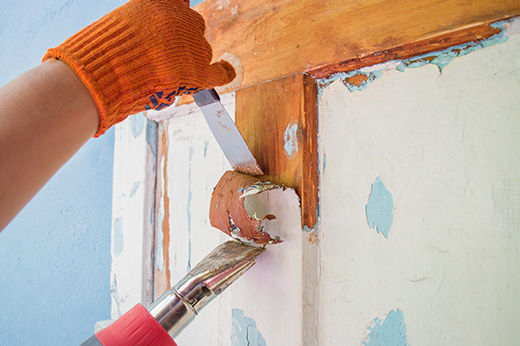
5 Ways to Remove Paint from Wood Surfaces
Looking to clean up old painted wood for a refinish or stain? With Do it Best, discover the top five best methods for easily stripping paint from wood!
Learn more
Gorilla Glue Buying Guide
Easily find the best adhesive to meet your next DIY project needs!
Learn more